Sourdough Starter for Beginners
A sourdough starter can be intimidating for beginners, but this guide will hopefully help you feel more confident and ready to do it!
Creating Your Starter:
I read somewhere once that a sourdough starter is like a pet. It’s weirdly true. You feed it every day. It provides love in a roundabout way. Most people name them. Mine’s name is Dougie. I’m not very good with puns (Breadley Cooper, Bread Favre, Kanyeast, etc…) and my husband suggested calling it “Sour Doug H.” and it stuck!
Essentials for your starter:
- 2 large wide mouth glass jars. I use a 32 oz Mason jar. I’ve heard good things about using the 26 oz Weck jar as well.
- Digital kitchen scale. You’ll be measuring down to exact grams for your starter, so having an easy to read scale is crucial.
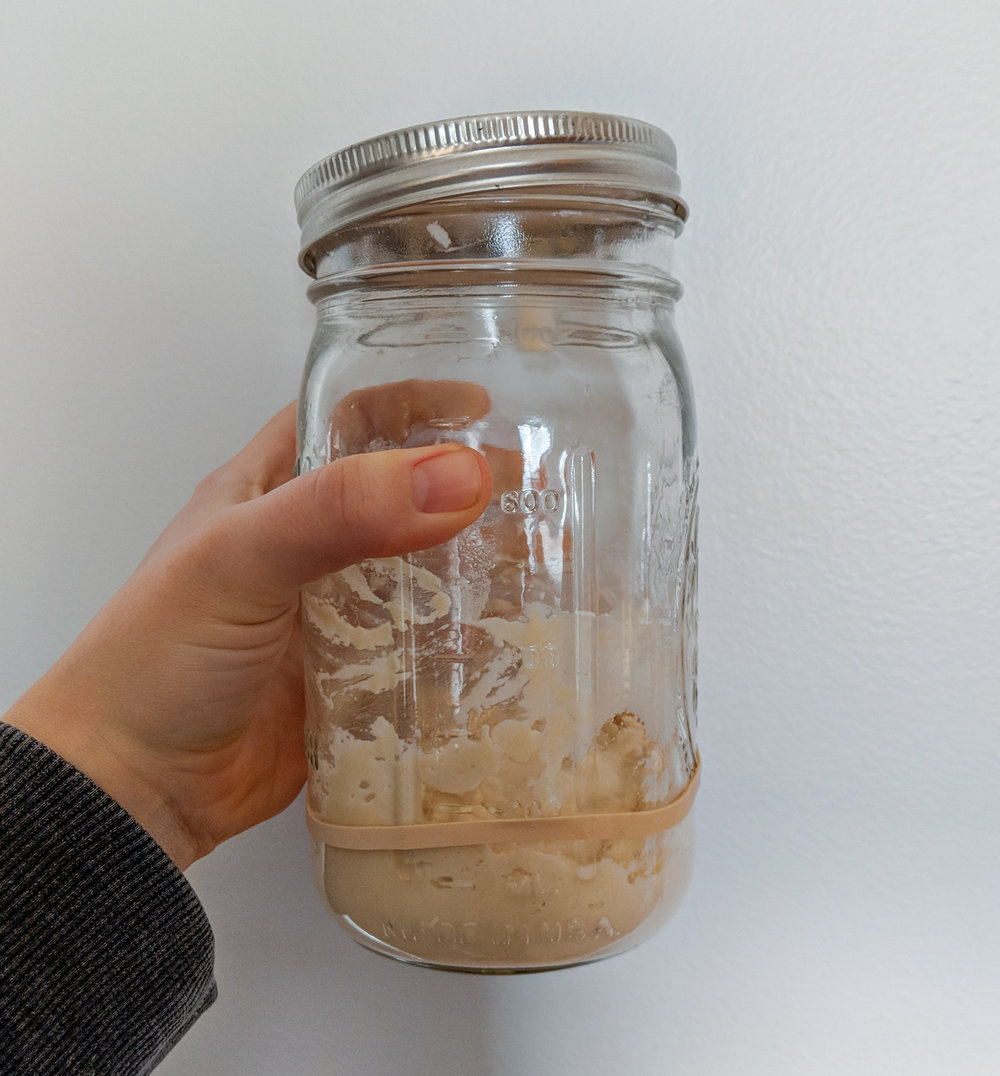
- Rubber band to mark starter levels (this will help you know when you feed it).
- Water filter. Tap water can have all sorts of unknown factors that can alter or effect your sourdough.
- Whole wheat flour
- Unbleached all purpose flour
Non-essential but very helpful for your starter:
- Airtight containers to store your flour.
- Small silicon spatula. These are really easy to clean and they just do a great job stirring the starter! You can easily use a spoon, which is why I put this as “non-essential,” but it’s a game changer.
Patience is key! It may not work the first go-round for a variety of reasons. It took me 3 tries to get this right for some reason. It generally takes about 7 days of consistent feedings for your starter to be “ready” to bake with. You may not see any activity for a few days after you create it, but just keep feeding! Resist the urge to save all of the starter. Follow the recipe below and you should hopefully see results.
To start it off, place your jar on the scale, make sure it is on grams (g) and tare it so it reads 0g.
Add 100g warm or room temperature filtered water to the jar. If your house is generally cold, be sure to warm the water up some. I’ve never actually measured the temp I use, but it should ideally be between 70-80 degrees. Tare the scale to 0g again.
Add 100g whole wheat flour. Stir well so there is no dry flour left. Place the lid on top of the jar (I don’t twist it shut, just simply place it on), add the rubber band to mark the stop of the starter, and place it in a warm spot. I always keep mine on top of the fridge.
Always begin your starter with whole wheat, as the wild yeast is more likely to be found in the flora- and fauna-rich environment of a whole-grain flour. After this initial creation, you will feed your starter with an unbleached all purpose. Hang on to that bag of whole wheat though, as it’ll come in handy when you start baking loaves!
Feeding Your Starter:
Now that you’ve created the starter, you need to feed it every day! Some resources say to feed it twice a day, others say once at the same exact time. Personally, I feed it once a day in the afternoon/evening. I’m not too strict about it. Some days it may look better than others depending on temperature and other variables. The colder the environment, the longer it will take. Ideally feed your starter around the same time each day, once it has doubled in size.
Place a clean glass jar on the scale and tare it to 0g.
Add in 100g warm filtered water. Tare the scale.
Add in 100g unbleached all purpose flour to the jar. Tare the scale.
Spoon 25g of your active starter into the water.
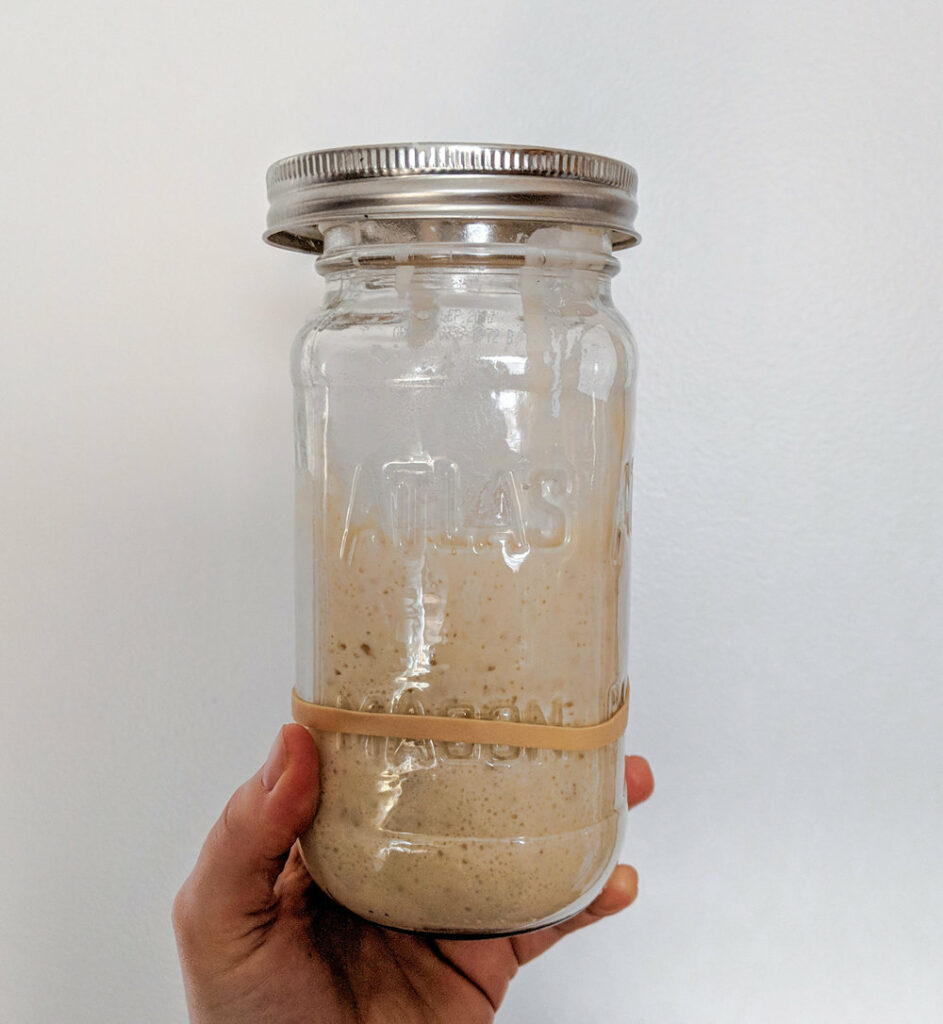
Stir everything together until there is no more loose flour. Add the rubber band to the new jar to mark it’s spot.
Ready to be fed 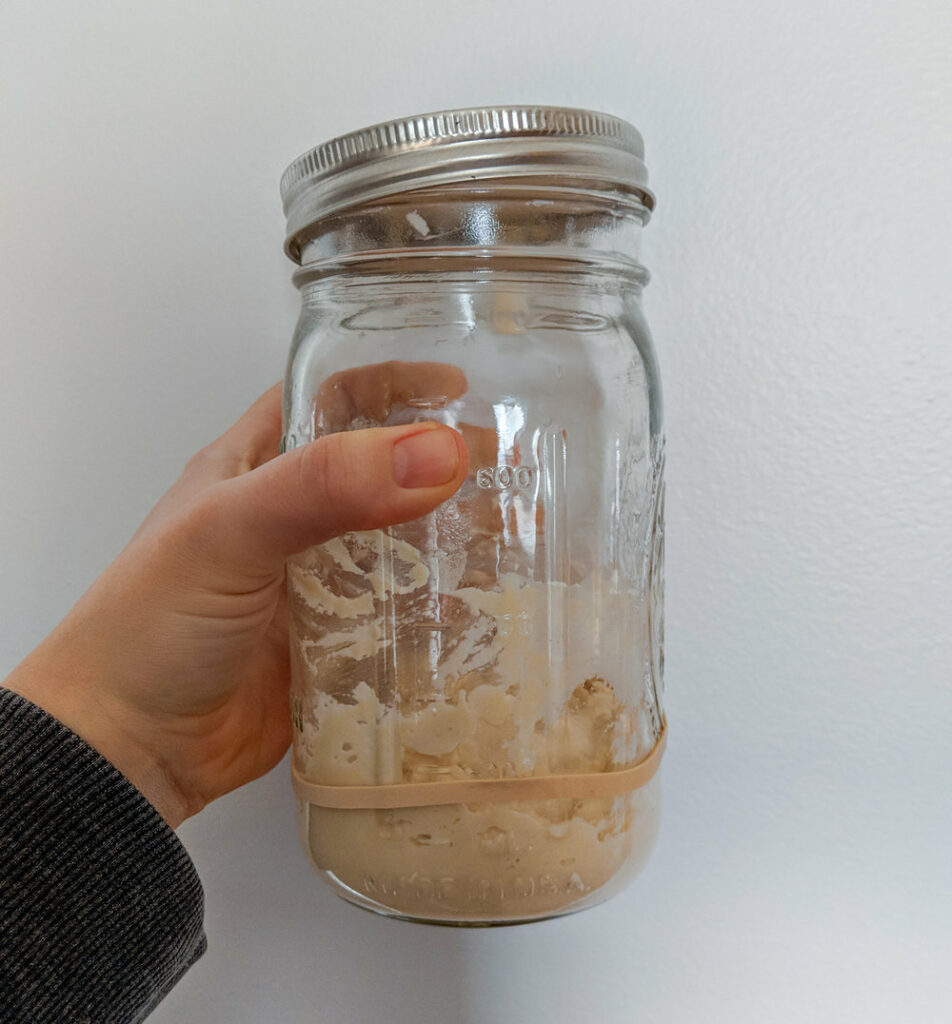
Post feeding
Some people use 80g all purpose and 20g rye or whole wheat, but that is personal preference! Some days I will do 80 AP and 20 WW if I feel like my starter needs a boost (remember, whole wheat tends to have more wild yeast).
Again, to feed your starter:
-100g warm filtered water
-100g unbleached all purpose flour
-25g starter
Discard the rest of your starter. There are great recipes for your discard for things like pizza crusts, pretzels, pancakes, etc. You can gift the discard to a friend. But most days, I just throw it away. I hate doing this but if you hold on to it you’ll end up with a gigantic batch of useless starter that you can’t keep up with.
My number 1 tip to make your life easier with sourdough: CLEAN. UP. IMMEDIATELY. This is a messy, dusty, sticky hobby. When you transfer your starter, immediately dump the rest of the starter in the trash and fill the discard jar with warm water and clean it out. Once it dries, it’s damn near impossible to get that stuff unstuck. Wipe your counters of any stray flour that inevitably ends up everywhere. Keep all of your items in an easy to access spot and keep it all clean and tidy!
My favorite resources:
- The Sourdough “bible” so to speak, Tartine
- Other great books: Flour Water Salt Yeast, Artisan Sourdough Made Simple
- Laura from A Beautiful Plate. She has a helpful blog post, but her stories on instagram are really so helpful!
- Shana from Go Eat Your Bread With Joy. She has done lots of sourdough research and bakes it regularly. She’s got a lot of great posts (including an interview with me included!).
- Amy from Amy In The Kitchen. She’s has some great posts about sourdough for beginners as well!
- The Kitchn
- King Arthur Flour